Make Your Own iPad / iPhone Brush.
For many, it is easier to draw small characters or pictures with a stylus. In this DIY article, we explain how to make your own iPad / iPhone brush stylus using over the counter embroidery thread.
*We do not take any responsibility for the consequences of following the instructions in this article.
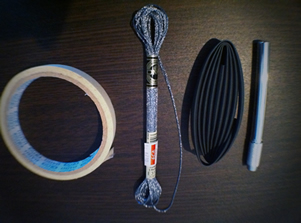
Materials
- Embroidery thread (Lamé thread)
*We used Light Effects - Precious Metals thread from DMC for this project.
- Heat-shrink tubing for electrical wiring
- Pencil extender (Must be made of a conductive material. We recommend aluminum.)
- Masking tape
*The conductivity of the embroidery thread may vary according to color.
For this project, we used color number E317.
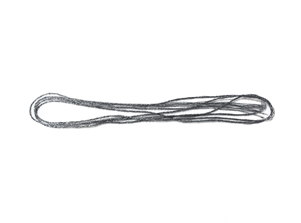
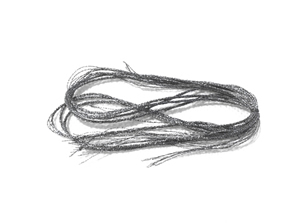
1. Fold the thread into a loop.
Cut an appropriate length of thread and fold it into a loop.
For this project, we used a length of about 145cm and made a bundle by folding the threat in half repeatedly.
2. Tie the bundle in the middle using thread.
Use another piece of the same thread to tie the bundle in the middle.
Using the same material to tie the bundle is preferable.
Cut the excess thread from the knot using scissors.
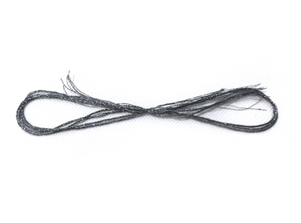
3. Fold the bundle in half.
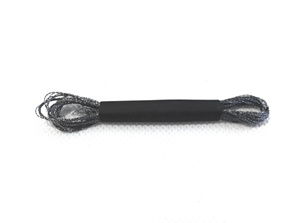
4. Pass the thread through the heat-shrink tubing.
Inserting the side with the knot into the pencil extender will ensure the necessary electrical contact.
The side opposite to the knot will act as the brush tip.
5. Shrink the heat-shrink tubing.
Shrink the heat-shrink tubing using a hair dryer.
Why use heat-shrink tubing?
- Prevents the metallic part of the pencil extender from touching the screen directly.
- Thins the tip of the brush, making it easier to see.
*Since the heat-shrink tubing also becomes hard after shrinking, we cannot guarantee that it can’t damage the screen.
We recommend using a protective film.

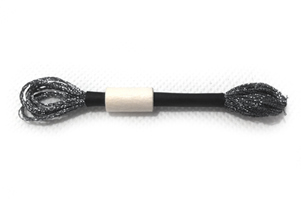
6. Use tape to obtain the thickness of a pencil.
Leave a length of tubing to act as brush support and wrap masking tape around the tubing.
Wrap tape until you obtain a thickness allowing you to fix the tubing into the pencil extender.
*You can also use another type of tape.
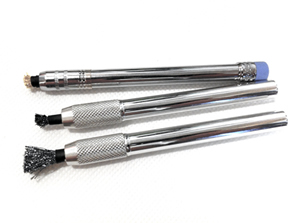
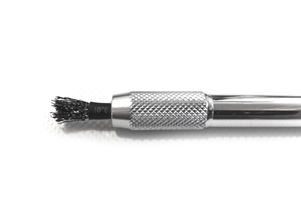
7. Insert the tubing and thread into the pencil extender.
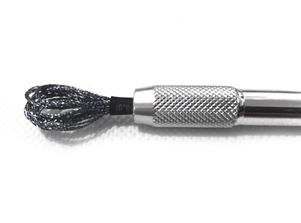
8. Adjust the tip of the brush.
Use scissors to cut the tip of the brush. Cut the tip to a moderate length while actually testing its sensitivity on your iPad / iPhone. If you cut it too short, the touching area will be too small, causing a bad reception.
Cutting examples:| Brush shape | Shape when drawing | |
| ① |  |
|
| ② |  |
 |
| We recommend a shape similar to shape ②. It makes the tip of the brush easier to see than shape ①. |
||
9. Closing
Brush type styluses have less resistance than sponge and gum types, providing a softer drawing sensation. It is also fun to try creating different types of brushes to find the one you prefer.